Aircraft Spruce Canada
Brantford, ON Canada
Corona, CA | Peachtree City, GA
Chicago, IL | Wasilla, AK
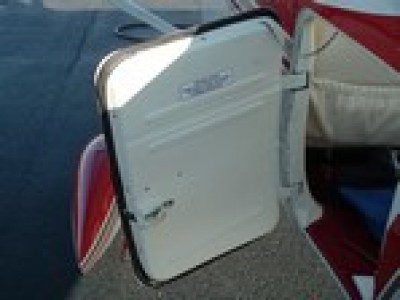
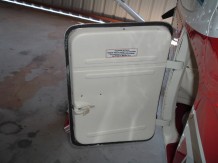
Cessna Aft Baggage Door Seal Door Installation
MFR Model# ADS-C1402
- JUMP TO
- Overview
- Application
- Accessories
- Reviews
- Q&A
Overview
|
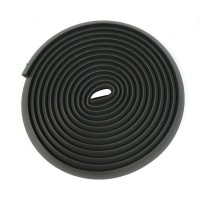
FAA-approved revolutionary new seal design! Nearly a year of development and testing went into creating this revolutionary new Aft Baggage Door Seal for Cessna. Custom extruded from a special hybrid rubber compound, the new seal is superior to any seal on the market. FAA-PMA certified in February, 2008 for Cessna un-pressurized aircraft (with reciprocating engines), the kit includes door seal, seal lube, installation instructions, engineering drawing, and Instructions for Continued Airworthiness (ICA). The new seals are available at a fraction of the cost of OEM seals, provide an airtight and water tight fit, and greatly reduce noise in the cabin for even more enjoyable flying! |
Application
- Cessna 172, Cessna 175, Cessna 180, Cessna 182, Cessna 185, Cessna 190, Cessna 195, Cessna 205, Cessna 210, Cessna 336, Cessna 337
Reviews
K2U Cessna Aft Baggage Door Seal 172 175 180 182 185 205 210
K2U Cessna Aft Baggage Door Seal 172 175 180 182 185 205 210
Didn’t install this gasket because of the gasket thickness - it is the same gasket material used on the other doors and they are really hard to close. Looks like this is not a good replacement for a Cessna 172N.
K2U Cessna Aft Baggage Door Seal 172 175 180 182 185 205 210
Worked as advertised. The door seal sits on both edges and may need to be trimmed around hinges and the latch, but that would be expected. Nice and tight seal...but not interfering with any door operation. Will look to buy window and even door seals of the same type for the next round.
Easy installation and a great seal.
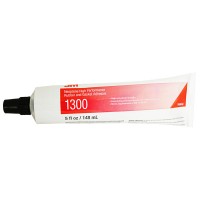
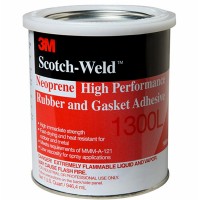
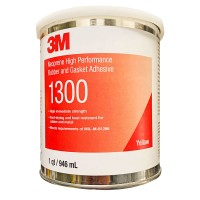
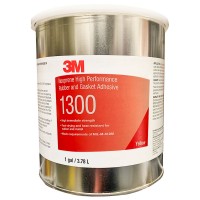
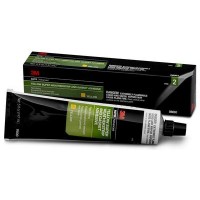
This is a far superior seal to the factory Cessna seal (p/n S1084-1 now a replaced p/n) and more expensive! Be sure to order 3M 1300 adhesive with the seal. Follow the instructions carefully. It is not a simple procedure to replace the seal. Baggage door plastic panel must be removed and door removed from hinges (4 elastic nuts inside - hard to manage). Attaching the forward edge of the plastic panel with sheet metal screws is very difficult. There is no room for even short screwdriver access. I installed rivnuts in the forward edge and used hex head machine screws to make the job simpler in future. Clean old adhesive with 3M Adhesive Cleaner, apply 3M 1300 Adhesive as directed. Applying 3M 1300 to the seal in 6-8 inch sections and positioning the seal correctly is tedious. I used small clamps to apply pressure, but probably not necessary. The forward edge of my baggage door is too narrow for the seal width, so I had to trim the seal excess off with a razor blade. Cutting out the notch for the door bolt requires an Exacto knife after the seal is glued in place. The seal is stiff and requires a good slam to close, but I didnt see the door slightly pushed out as some seem to experience. All seals eventually take a set, and I believe this slamming will be reduced in time. A few feet of extra seal length is suppled if future repairs are necessary. I recommend the seal.
This seal definitely fills the gap. So well that the door sticks out slightly. Great improvement over the original.
This seems to be a really nice product as the material would work well and last a long time. I installed it on the baggage door as per the instructions on a 172E and when the hinge pins were re-installed the door would not come close to being able to close. There is no adjustment on the hinge side. Cutting some of the material back would destroy the seal. As this was glued on it was destroyed during removal and the seal is now garbage. I used sticky foam from the hardware store instead.
Door seal did not fit properly. Pushed door out, was hard to latch, and seal stuck out at edges. Trimming was difficult and resulted in poor looking seal and did not solve any problems. I had similar problem with same seal on a Cessna 177B
Installed the seal per directions. I even called the company to make sure I had it mounted correctly. The install itself is easy and the material follows the curves in the door very well. The problem is that the seal is too thick. I cannot close my door. I will go with the factory seal
Q&A
Please note, Aircraft Spruce Canada's personnel are not certified aircraft mechanics and can only provide general support and ideas, which should not be relied upon or implemented in lieu of consulting an A&P or other qualified technician. Aircraft Spruce Canada assumes no responsibility or liability for any issue or problem which may arise from any repair, modification or other work done from this knowledge base. Any product eligibility information provided here is based on general application guides and we recommend always referring to your specific aircraft parts manual, the parts manufacturer or consulting with a qualified mechanic.
The adhesive is not included in the kit. The 3M Scotch-Weld 1300 is commonly used, and is listed in the accessories tab.

 Aircraft Spruce Canada
